
This is an upgrade of my desktop because for some time I had in my head to tidy up or at least make less visible all the tangle of cables that were seen from behind and that at the time of manipulating any of them was a chaos.
This is my first setup so it won’t be a big deal, I’m a family man and I don’t have the time to plan everything in detail or the money to put a mass of monitors to be at the height of other setups that appear out there. I’m a practical man looking for practical solutions without make pic pose or neons.
At first I didn’t think to publish it, so I haven’t pics to compare before and after: I only have the photos of how it has been and some things I have solved on the fly.
Inbox/Outbox
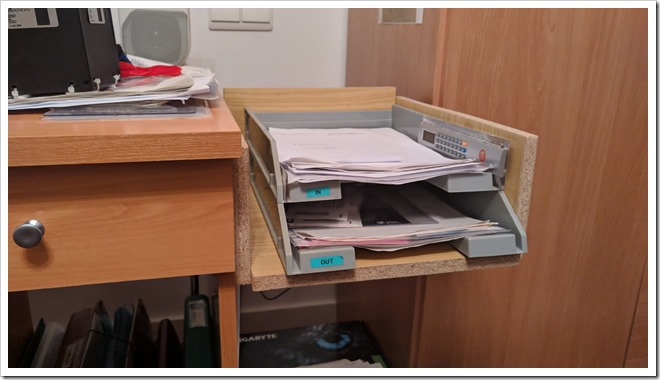
The first step was to «clean» the workspace by displacing the inbox/outbox off the desktop. So I took advantage of a piece of furniture with a similar color that I found on streets, and with the multitool I scrapped it and built a drawer to accommodate the trays. The drawer is fixed with «L» brackets.
Wiring system
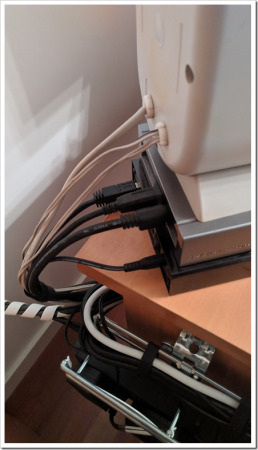
One of the main reasons to revise the setup was to rethink the wiring as this was a spiderweb of cables that were seen through the hole in the table for the legs. The idea was to have a cabling system that would allow to lay new cables and remove them without taking the existing ones forward, and if everything is identified much better so as not to waste so much time identifying a specific cable. #cableporn

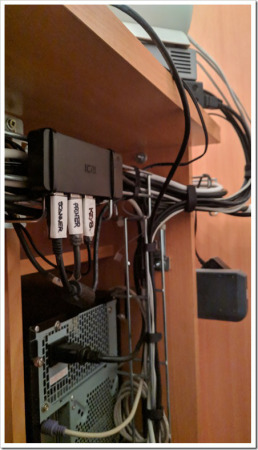
I shuffle all options: the Ikea system, PVC ducts…but the huge amount of cables, their weight and the difficulty to lay/remove cables once the installation is done makes everything go backwards. In the end I found the solution thanks to my experience as an electrician: a rejiband 60×60 w/ double rod, supports included; isn’t the most aesthetic but the most resistant and practical.
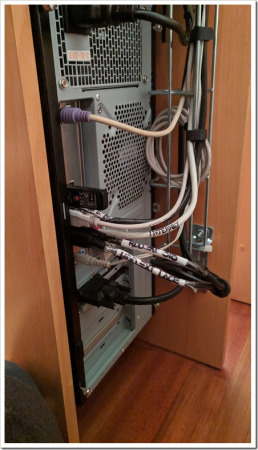
Each rejiband is 3 meters so with only one piece I can do it: one piece along the back of the table, another one from top to bottom on the back side following the CPU and another one on the outside of the left side following the powerstrip.
Powerstrip
With the use the usual powerstrips suffers, first the pilot stops working and then the contacts of the switch that get dirty, when cutting the power when there is consumption always create an electric arc that ends up dirtying the contacts and making false contacts. I can burst the rivets, open the powerstrip and clean the contacts, but that’s not a solution: it’s a patch.

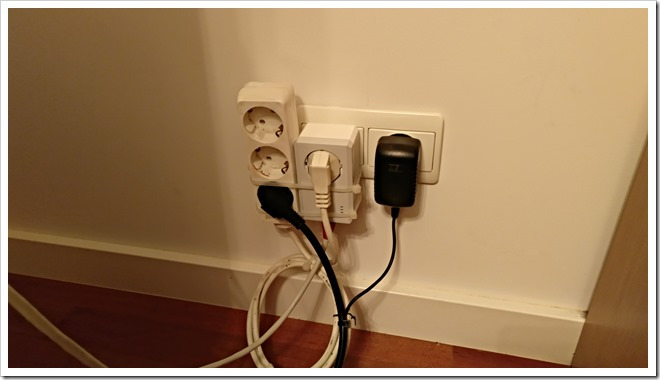
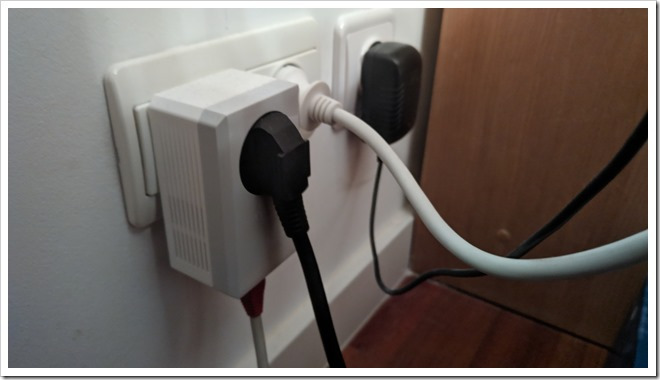
That’s why from the very first moment I opted for a master-slave powerstrip, for those who don’t know them it’s a master socket (the computer) controls the slave sockets (monitor, printer, scanner, external HDD, etc). Thus, when the computer works, it supplies power to the slaves and when the computer is turned off, it cuts the power of the slave sockets and therefore the rest of the devices.
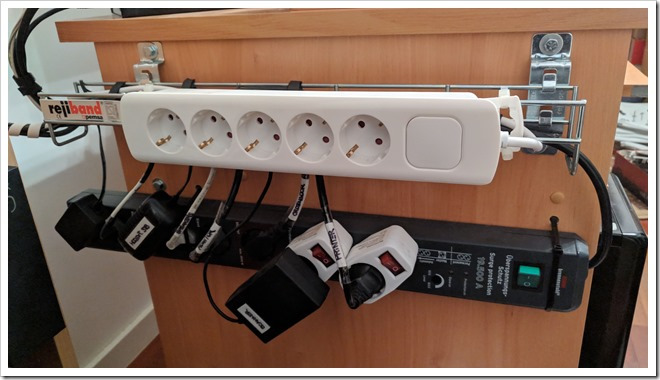
The length of the powerstrip made it impossible to place it behind the table, so I placed it on the left side which also had easy access to disconnect everything completely or turn on the printer and scanner at will. In spite of everything, I lacked sockets at certain times to connect the laptop, charge mobiles, GPS, etc., so I added a disconnectable powerstrip connected directly to the grid.
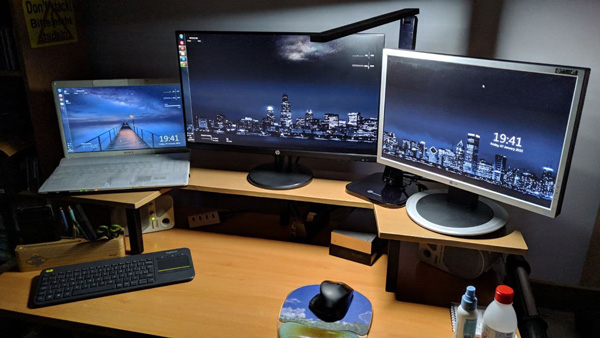
Monitors stand
In January 2022 with the purchase of a second monitor I built a monitors stand to raise them to eye level and free up more usable desk space. Full article

Keyboard
In December 2023 I replaced my Logitech MX5000 keyboard with a Corsair K55 PRO at a very cheap price, mainly to can see the keys in dark and because of some defects in BT communication that caused the keys to get stuck for 10sec.

USB HUBs
Making numbers with the devices and bullshits I have connected to the USB ports:
- Printer
- Scanner
- Two external HDD
- USB Keyboard
- Unifying keyboard
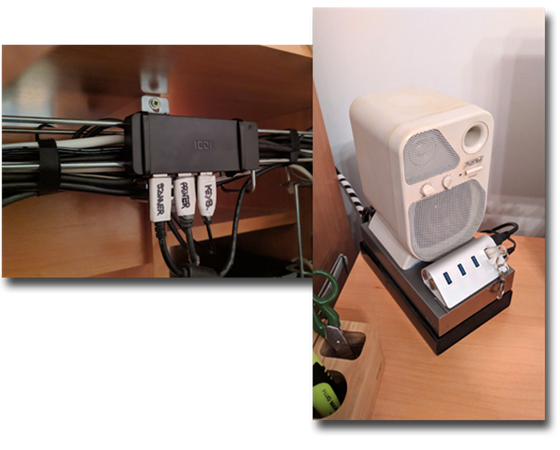
…I realized that the back ports of the computer were already full, making it difficult to leave any free USB port as a reserve. So I ended up using two USB HUBs both with additional power, one hidden behind the table for permanent devices and one front one more stylish and accessible to connect pendrives and other devices to the computer.
In December 2023 I painted the speakers black while waiting to find a model to suit my requirements.
Troubles
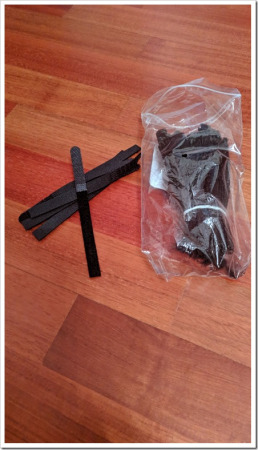
The first problem I encountered was the fixing system of wires, I first chose zip ties but these were consumed quickly. When a cable had to be added or staked out, they had to be broken and new ones laid out, and care had to be taken not to tighten the cable too much so as not to deform it.
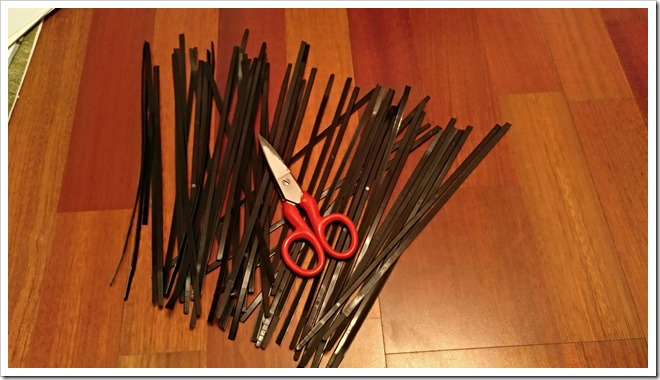
So at the end buy some Velcro tapes that can be removed and replaced as often as you want, also do not deform the cables at all and are priced insane low at Amazon.
Apart from powering the master-slave terminal block and the desk light, it needed an additional powerstrip connected directly to the grid power so that it could charge devices, connect the laptop, etc., regardless of whether or not the desktop computer is connected. So, was my turn to reformulate the sockets.
Final pics
I leave you a photos to show you the rest of details.


Hola, he descargado los mapas Europa NTU 2020.20 para un Garmin de camion DEZL 770 que está con los mapas de fábrica de 2015.
Al intentar ver la carpeta .System no hay forma, ni marcando lo de mostrar archivos y carpetas del sistema. Por eso no he podido poner los mapas nuevos con el metodo copia-pega.
Entonces bajé el BaseCamp e hice la transferencia de mapas, pero han resultado estar bloqueados.
La unidad que me aparece en el ordenador asignada al gps no tiene letra tipo C: o D: sino que viene como DEZL pero no consigo meterme en la carpeta Garmin de la oculta .System
Para desbloquear los mapas transferidos dispongo del FastIMG unlocker pero me pide ubicación del mapa y no consigo decírsela por el problema de que no está asignada a una unidad.
¿me puedes ayudar a desbloquearlos?, son dos partes del mapa.
Gracias
Me gustaMe gusta
Vamos paso por paso, por aquí hay miga y hay cosas que se solapan unas con otras.
La mas importante a la hora de meter mano es que la unidad GPS aparezca con la letra de unidad, técnicamente se tiene que conectar como «Unidad de almacenamiento masivo» en vez de MTP: https://wp.me/p43VIT-TR.
Una vez solventado eso tendría que poder verse y acceder a los archivos/directorios ocultos. Así se solucionaría poner los mapas con el copy-paste y aplicar FastIMG unlocker o PGFT.
Todo el software de Garmin (Mapsource/Basecamp/Mapinstall) siempre que transfieras mapas desbloqueados instalados en PC a la unidad GPS, tarjeta o USB se transferirán bloqueados, por lo que hay que desbloquearlos: https://wp.me/p43VIT-Tn
Esto es cosa de Garmin para desincentivar el uso de los mapas de siempre en favor de los nuevos con firma electronica junto con los GPS posteriores a 2014 que impiden el uso de cualquier mapa sin firma electronica, todo esto a nivel de firmware.
Me gustaMe gusta